
Today, I thought I would start with the after shot:

Our dog has been a part of our "family" for over 14 years. Her trusty dog bed is probably as old as she is, and it looked like this:

The basket is in good shape, but I was tired of the novelty fabric and the elderly canine joints could use a little more padding.
I planned to re-use the old stuffing, so I ran the old cushion through the laundry. Then I sliced into that nasty 1990s hunter green paw print fabric.

Disgusting! At least it's sort of clean. I removed the foam bits by the handful and put them in a large bag to reuse later.
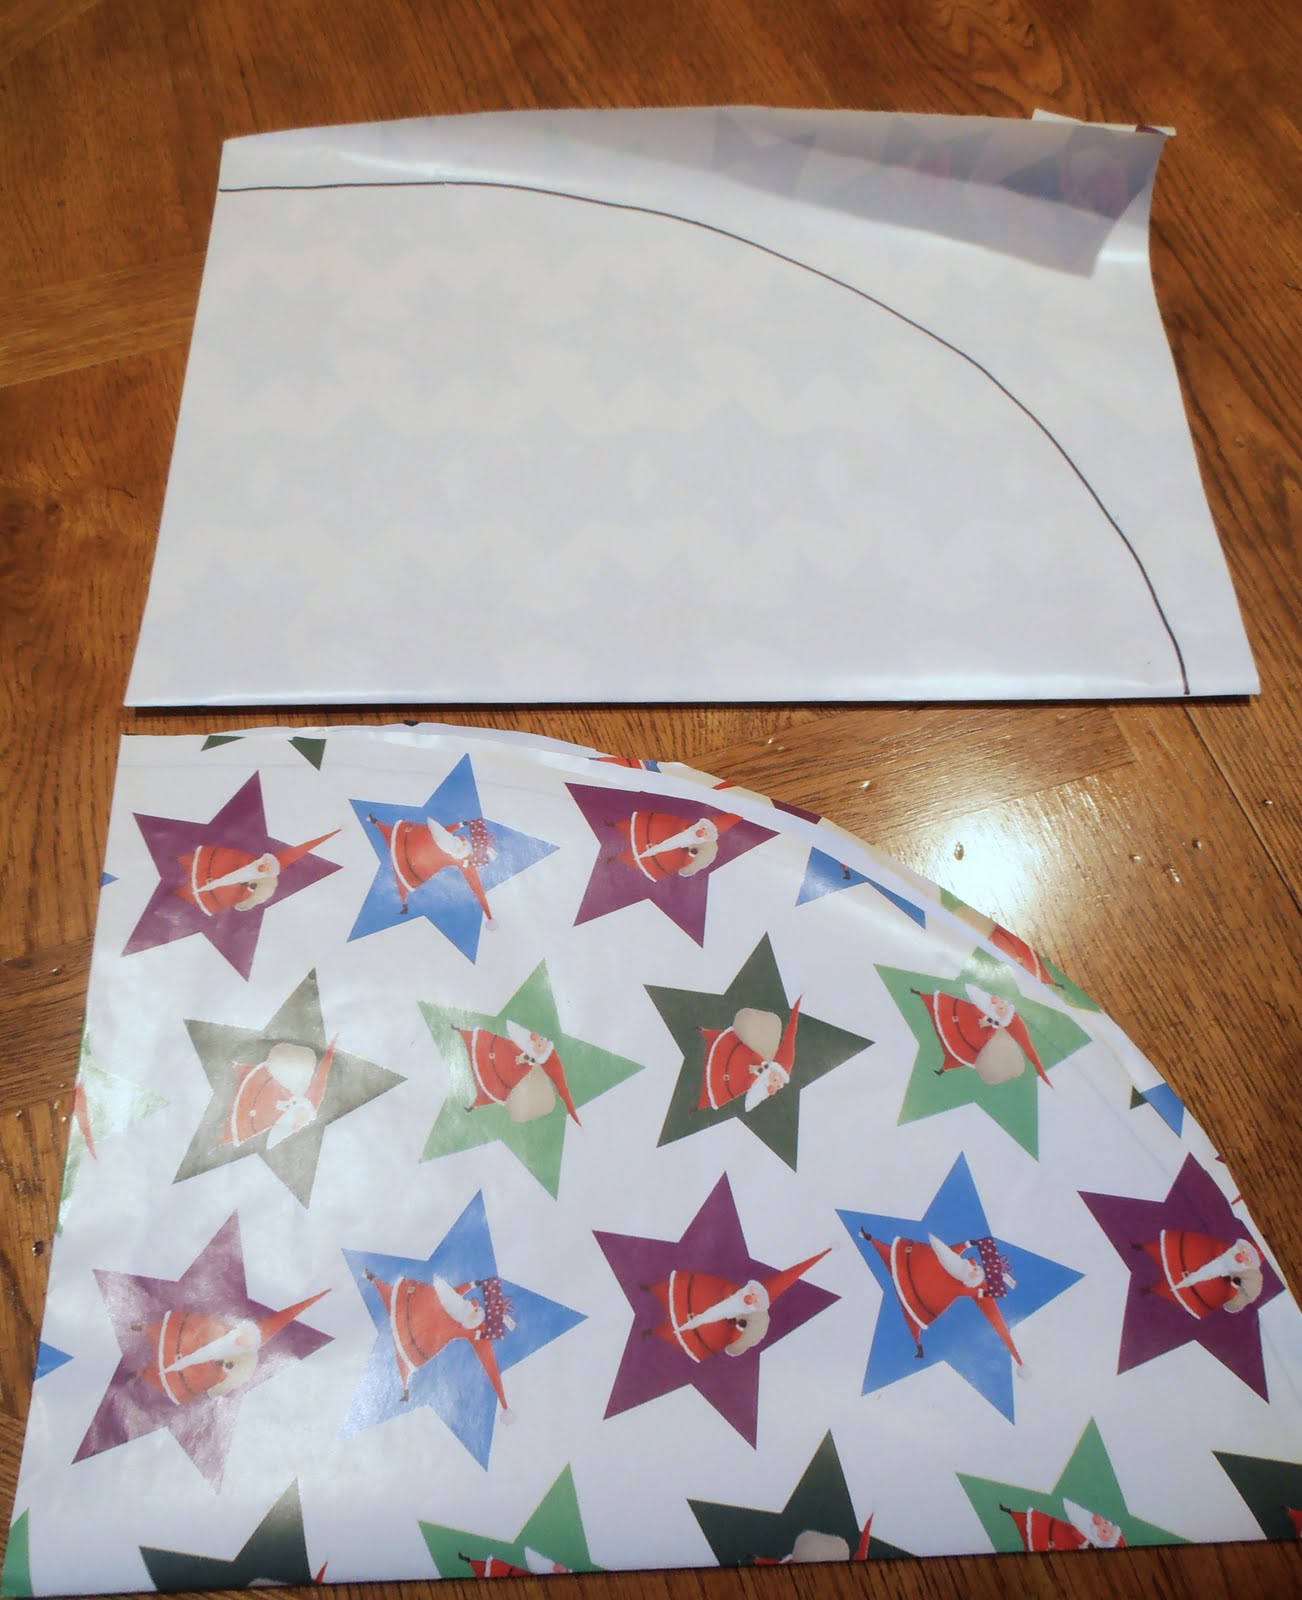
After all the filler had been removed, I flattened the fabric the best that I could to make a pattern for the new fabric. I traced around the old fabric onto the backside of a sheet of holiday wrapping paper.

I'll need a seam allowance, so when I cut out the pattern, I cut about 1/2 inch OUTSIDE the line I drew.
Hmm...the oval I cut wasn't even. I folded it into quarters.

Then, I folded a fresh sheet of wrapping paper into quarters as well and traced the first template onto the new sheet of paper, following the widest points of my first template. (Are you still with me?)
Much better! Now I'm ready to pin the final template onto the fabric I selected. Actually, it's a curtain panel! I found at a thrift store and since there was just one panel, I scored it for just a few dollars. It's 100% cotton twill, so it's a good weight without too much bulk. As with anything I get secondhand, I prewashed it before I started, plus later when I need to wash the finished bed, I can do so without shrinkage.

I folded the panel in half, right sides together, then pinned the pattern to it so I only had to make one cut. Remove the template and pin the two pieces of fabric together.
Using a 1/4 inch seam allowance, stitch around the edge, leaving a 12 inch opening one one side. Turn right side out and finger press the seams.
I wanted the new dog bed to be lofty like the old one used to be, so I made six evenly spaced marks with a disappearing marking pencil.

Using DNC embroidery floss, make a single small stitch at each of the marks.

Remove the needle and tie the ends using a surgeon's knot.

Clip the excess floss near the knot. After all six knots have been made, carefully refill the cushion with the foam bits. I had a little leftover foam from my ottoman project, so I cut it into small pieces and added it to the new cushion as well.
Sew the opening closed and give it the new cushion a 20 minute spin on the fluff cycle in the dryer to distribute the foam. Throw away that nasty novelty print fabric!

A practical yet classic dog bed, updated for less than four dollars. Pooch is now ready for a good night of sleep.
I'm linking up...

No comments:
Post a Comment
Will blog for comments! Talk to me.